Earlier this month, I created a quick case design for the new Raspberry Pi 5. As a Hackspace Magazine subscriber, I had “priority boarding” access to the Pi, so there were few cases available when I received it.
I found a nice two-part case by Micro Center on Printables, but wanted to make some modifications. I thought about my needs and “remixed” that design. Below is just a quick summary of my process, for anyone interested in remixing designs on Printables or any fellow Pi owners looking for the right case.
If you’re just looking for the STL files, head over to my Printables listing.
What I was looking for in a Pi 5 case
- Support for the active cooler by Raspberry Pi (£4.90), a combination of a heatsink and a fan
- Cutouts for camera and display ribbon cables
- A design that uses screws instead of snap latches, for increased longevity
My design
To start out, I installed the active cooler on my Pi 5 and used my digital calipers to take some measurements.
I first measured the distance between the CSI/DSI connectors (note that the new Pi 5 also allows users to connect two cameras or two displays instead of just one of each!) and the sides of the board. I then measured the spacing between the two connectors, as well as the distance between the cooler’s fan and each side of the board.
Fusion 360 process
Opening the .STEP files provided by Micro Center in Fusion 360, I brought them together in one file and made the following changes:
- I removed the snap latch geometries, both because I wanted to move to a system of bolts and hex nuts and also because they would interfere with the cooler!
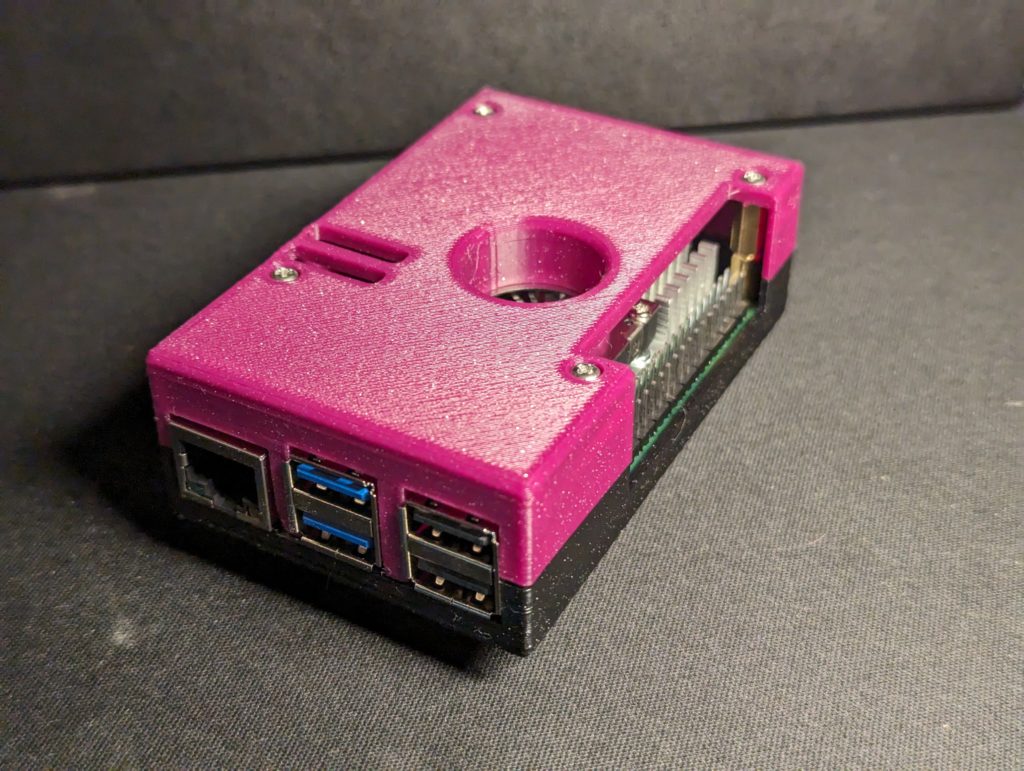
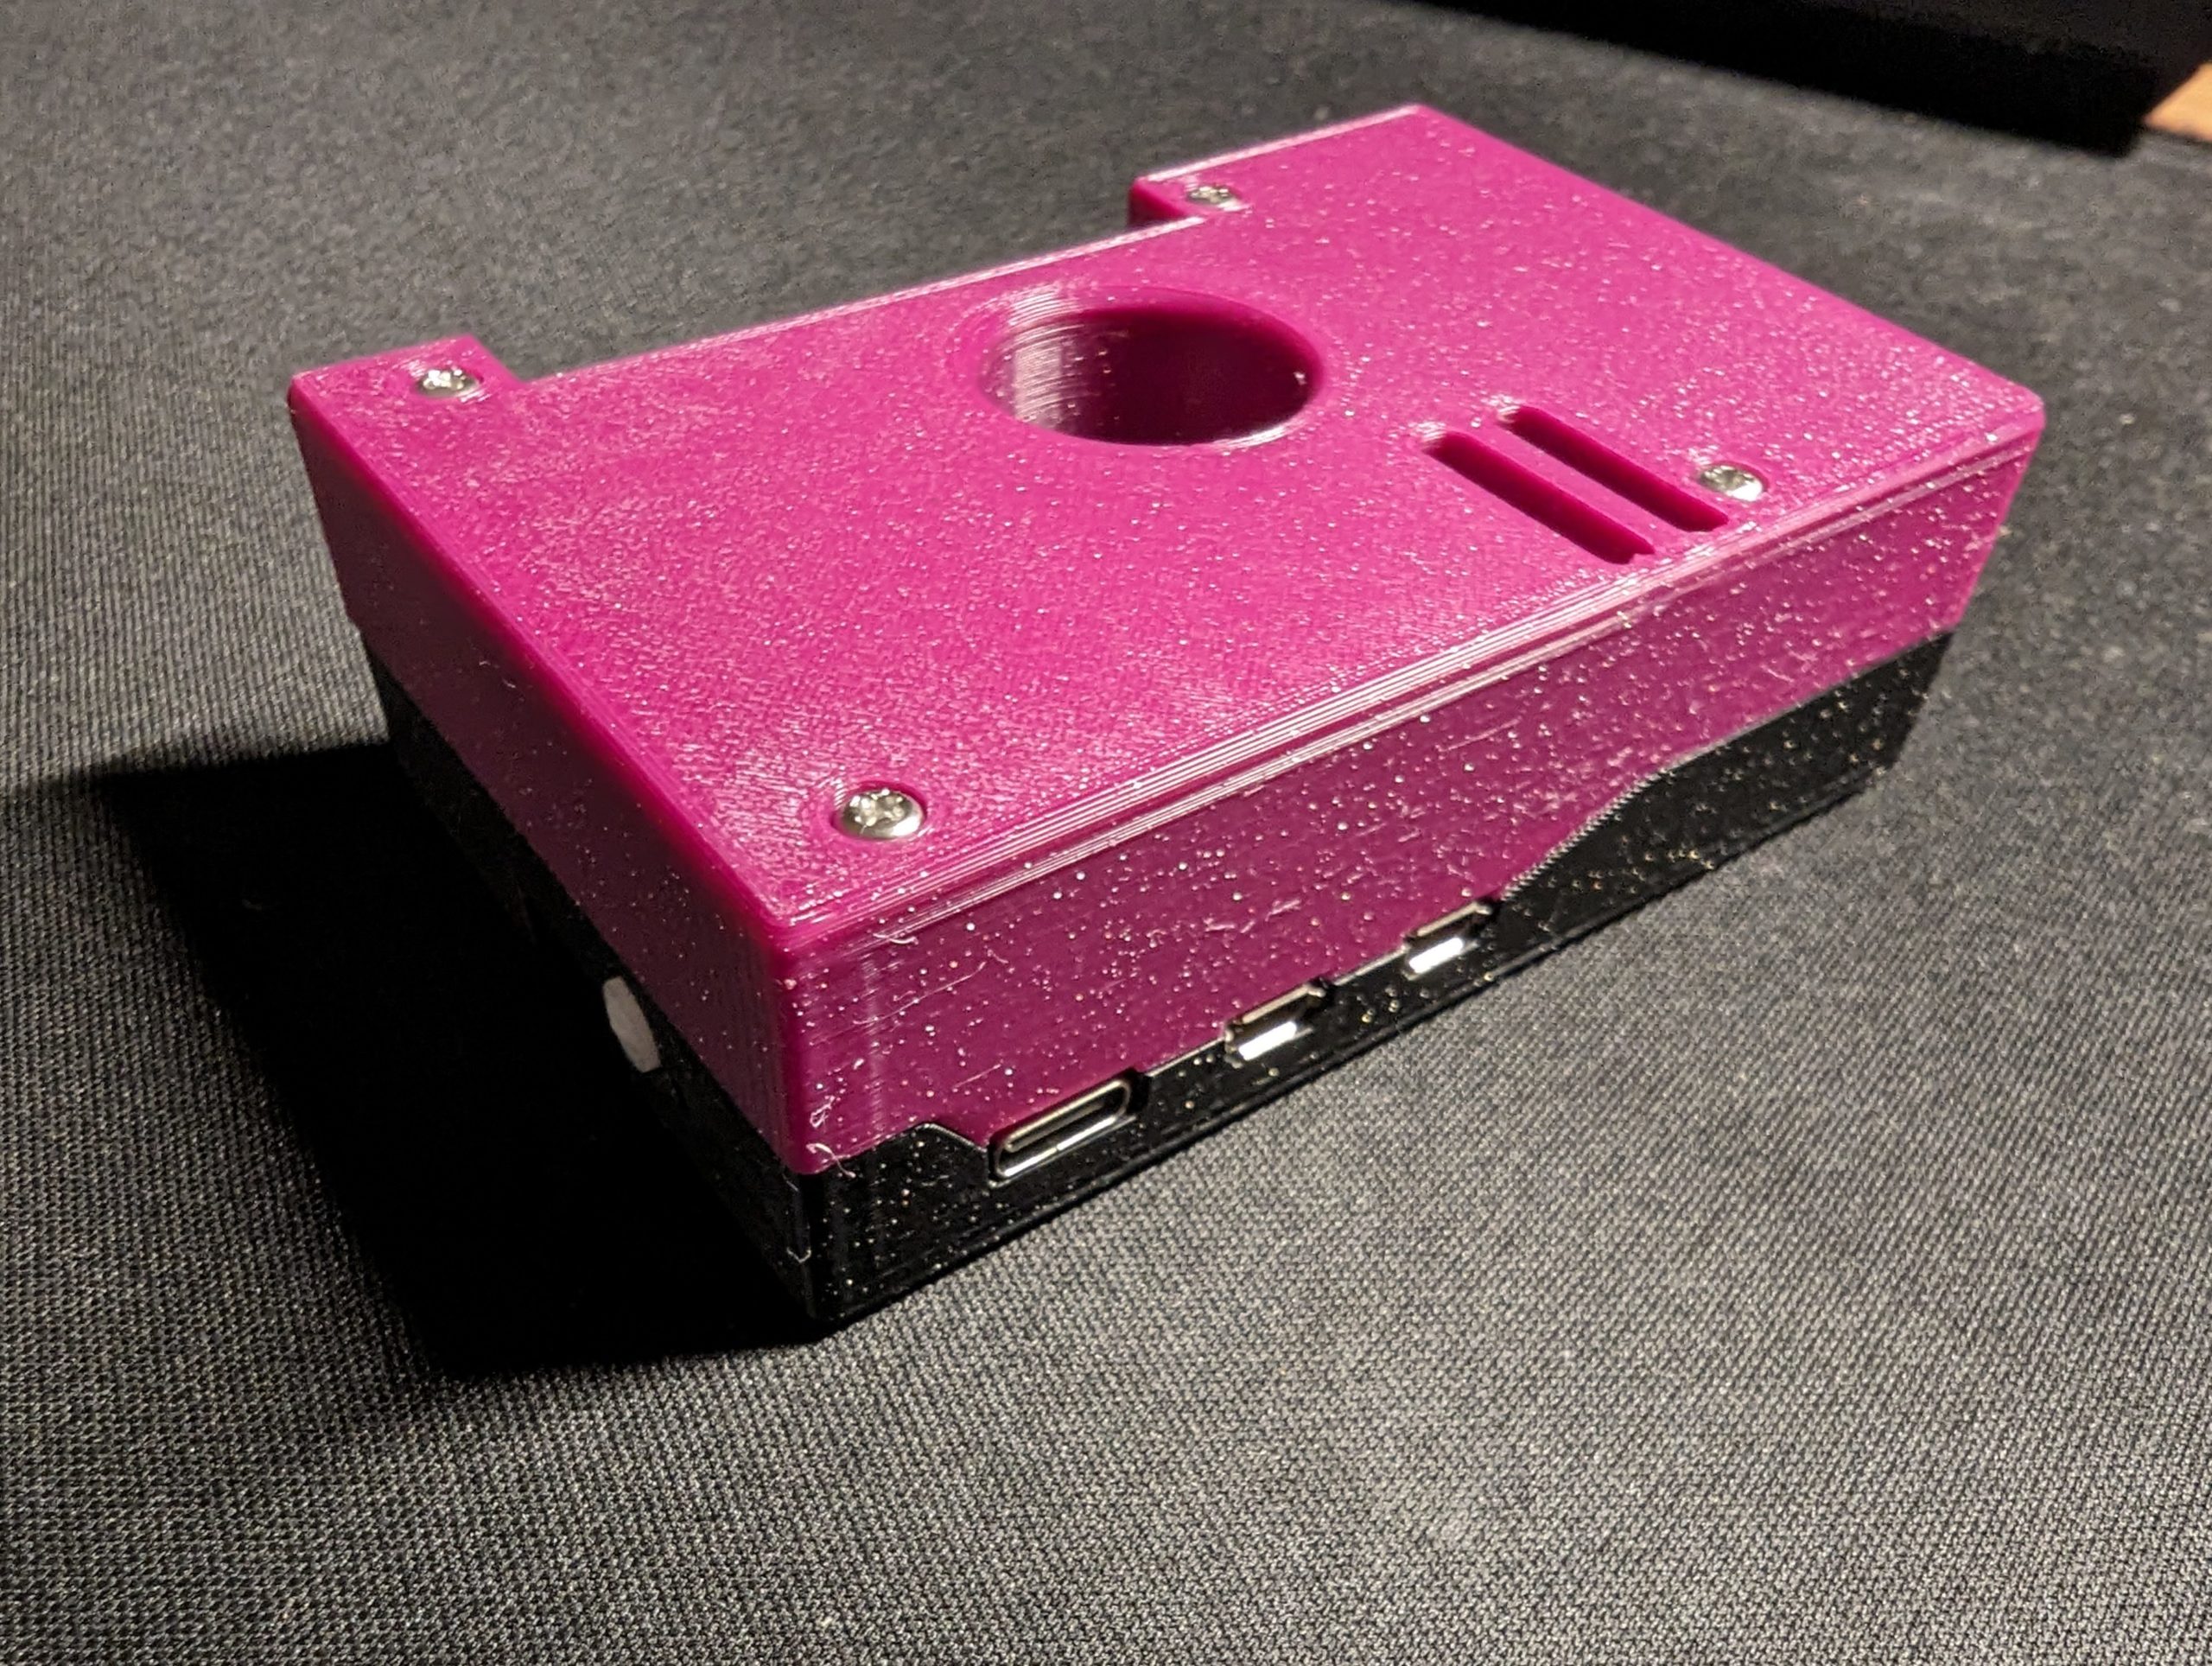
- I created a sketch on the top surface of the case with cutouts for the ribbon cables and for the fan, adding enough padding for print tolerances and potential measurement errors. While in Sketch mode, I added an outline extending outwards from the fan’s circle.
- Exiting Sketch mode, I used the Extrude tool to cut out the spaces for the ribbon cables and the inner circle for the fan. Using the same tool but in ‘Join’ mode (as opposed to ‘Cut’), I pushed out a tunnel in the surface between the two fan circles on my sketch. This is to allow the fan to always draw in fresh air instead of recirculating air in the case.
- I added hexagonal cutouts for hex nuts to the bottom part of the case, optimised for 3D printing (have a look at the STL file on my Printables listing to see what I mean), and circular cutouts to the top part of the case for the heads of the M2.5 BHCS bolts. I’m using standoffs (total of 21mm) to bridge the gap from the top of the case to the hex nuts below.
- For the power button, I changed the M for Micro Center to a power icon (sorry Micro Center!)
- While I was in Fusion, I used the Fillet tool to change the diameter to my personal preference. This was just an aesthetic change.
I printed the case with CatYarn ABS filament on my Voron V0.2 with a quick 0.2mm layer height profile but you can use PLA, PETG or any other material to print it.
The whole process took just under an hour — remixing designs can be a great first foray into 3D design, so I hope this summary helps anyone hoping to do their own remixes.
Thanks for reading!
You can grab the files for this case on my Printables listing here.